仕事で使うので React に入門する。 いつかは React と TypeScript でアプリを作れるようになって設計も考えられるようになるところまで目指すが、今回はチュートリアルだけやりつつメモをするだけの記事。
読まなくていいのでチュートリアルを進めた方がいい。
前提
Vue + TypeScript でアプリを開発した経験はある。 React の方が TypeScript できちんと型を定義して開発できるため相性が良く開発しやすいことを期待している。
React
サンプルを見た感じ、コンポーネントをクラスで扱えるのがわかりやすそう。 前に Vue と比較したときは JavaScript の中に HTML がある JSX が変な感じがしたが、慣れたら問題なさそうに思う。
class HelloMessage extends React.Component {
  render() {
    return <div>Hello {this.props.name}</div>
  }
}

ReactDOM.render(
  <HelloMessage name="Taylor" />,
  document.getElementById('hello-example')
)
このブログでマークダウンのパーサーとして使ってる remark でも jsx のハイライトが対応していたのは嬉しい。
React のチュートリアル
https://ja.reactjs.org/tutorial/tutorial.html
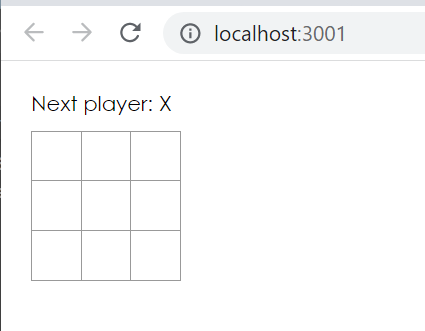
React でインタラクティブな三目並べゲーム (tic-tac-toe) を作るチュートリアル。
ブラウザでの実行環境も用意されているが、ローカル開発環境作ることから進めてみる。
作ったもののリポジトリ github
ローカル開発環境
- node v16.13.0
- npm v8.1.0
- os Windows11
- yarn -v
npx create-react-app my-app
これでアプリの土台を作成して、my-app/src/*を削除する。
src/に index.js, index.css を追加。
> npx create-react-app my-app
Need to install the following packages:
  create-react-app
Ok to proceed? (y) y
npm WARN deprecated tar@2.2.2: This version of tar is no longer supported, and will not receive security updates. Please upgrade asap.

Creating a new React app in C:\git\suzu6\react-typescript-test\my-app.

Installing packages. This might take a couple of minutes.
Installing react, react-dom, and react-scripts with cra-template...

略

Success! Created my-app at C:\git\suzu6\react-typescript-test\my-app
Inside that directory, you can run several commands:

  yarn start
    Starts the development server.

  yarn build
    Bundles the app into static files for production.

  yarn test
    Starts the test runner.

  yarn eject
    Removes this tool and copies build dependencies, configuration files
    and scripts into the app directory. If you do this, you can’t go back!

We suggest that you begin by typing:

  cd my-app
  yarn start

Happy hacking!
インストール終わり。 yarn がインストールされていたためか、yarn のコマンドが表示された。
アプリが実行確認と src にあるファイルを削除を進めた。
index.js と index.css の追加も行い実行する。
Developer Tools
途中で紹介されていた React Developer Tools を Chrome に追加した。
Developer Tools のメニューにcomponentsが追加され、React コンポーネントの状態までわかるようになった。これいいね。
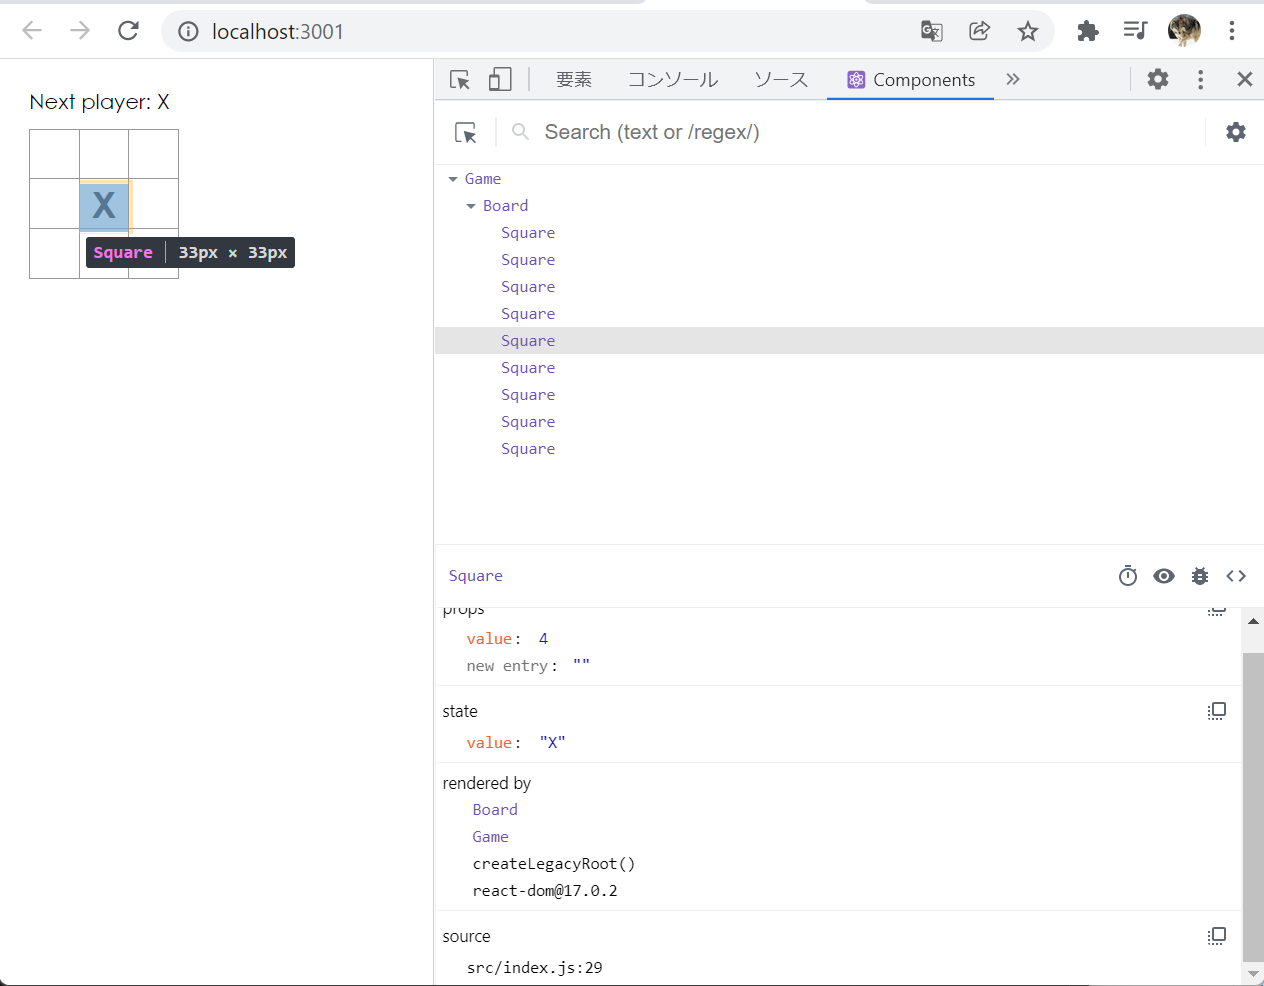
同じく追加された profiler はまだ使い方がわからない。
制作時のメモ
タイムトラベル機能の追加が変更箇所が大きくて迷った。 履歴を残すために state を Board から Game に移す作業で onclick が動かなくなったが、props の onClick か自身のものかで考えて解決した。
マス目を for 文で書いてみる
チュートリアルが終わったので適当に改造する。
マス目の数を増やせるように Board のレンダーを for 文で表現してみる。
render() {
  return (
    <div>
      <div className="board-row">
        {this.renderSquare(0)}
        {this.renderSquare(1)}
        {this.renderSquare(2)}
      </div>
      <div className="board-row">
        {this.renderSquare(3)}
        {this.renderSquare(4)}
        {this.renderSquare(5)}
      </div>
      <div className="board-row">
        {this.renderSquare(6)}
        {this.renderSquare(7)}
        {this.renderSquare(8)}
      </div>
    </div>
  );
}
▼ こんな感じで書き換えることができた。
render() {
  const [width, height] = [3, 3];
  const rows = [];
  for (let i = 0; i < width; i++) {
    const cells = [];
    for (let j = 0; j < height; j++) {
      cells.push(this.renderSquare(i * 3 + j));
    }
    rows.push(<div className="board-row">{cells}</div>);
  }
  return <div>{rows}</div>;
  );
}