コマンドでのUbuntu 18.04にVagrantをインストールする方法を紹介します。
Vagrantは、仮想マシン環境を構築および管理するためのツールです。
Ansibleなどインフラ周りの試しをしたいので、いくらでも壊せて遊べるVagrantが好きです。
仮想マシンのプロバイダーはVirtualBoxを利用します。
手順はHow to Install Vagrant on Ubuntu 18.04 | Linuxizeを参考にしました。
環境とインストールしたバージョン
- Ubuntu 18.04.3 LTS x86_64
- VirtualBox 6.1
- Vagarnt 2.2.7
UbuntuにVagrantをインストールする手順
以下、Vagrantをインストールするコマンドです。
ただし、GUIであれば各ダウンロードページから.debをダウンロードしてインストールしたほうが楽な気がします。
1-1. VirtualBoxのインストール
aptでインストールできるVirtualBoxを確認します。
$ apt list virtualbox -a
一覧表示... 完了
virtualbox/bionic-updates 5.2.34-dfsg-0~ubuntu18.04.1 amd64
virtualbox/bionic-security 5.2.18-dfsg-2~ubuntu18.04.5 amd64
virtualbox/bionic 5.2.10-dfsg-6 amd64
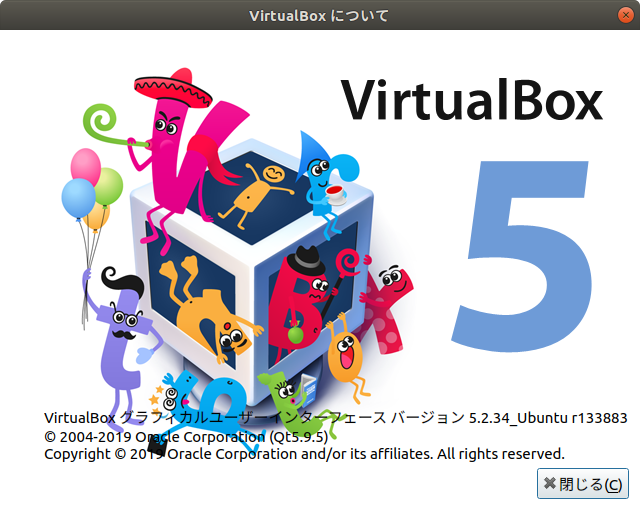
バージョン5.2のようですね。 問題なければ、次のコマンドでインストールします。
# VirtualBoxをインストール
$ sudo apt install virtualbox

VirtualBox 5.2をインストールできました。
VirtualBox Extention Packもインストールしている手順がいくつか出ていますが、内容は「USB 2.0およびUSB 3.0デバイス、VirtualBox RDP、ディスク暗号化、IntelカードのNVMeおよびPXEブートのサポート」だそうで、用途的に不要なためインストールしない。
アンインストールもコマンドでできます。
# VirtualBoxをアンインストール
$ sudo apt autoremove virtualbox
1-2. VirtualBox 6.xのインストール
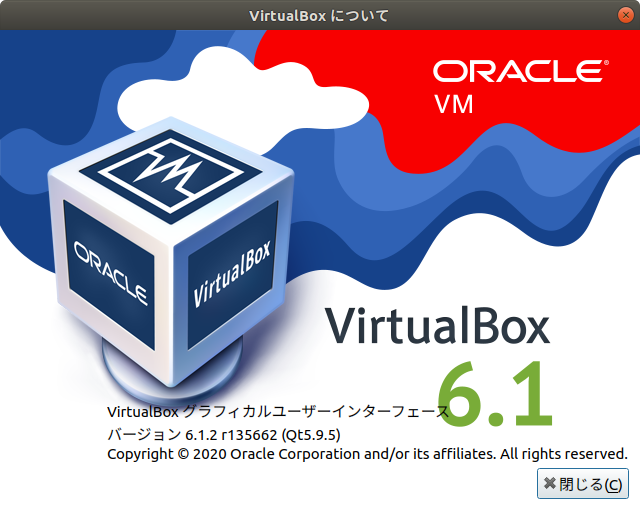
現在バージョン6.1がリリースされているので、最新バージョンをインストールしてみます。 手順はVirtualBoxの公式とこちらを参照。
VirtualBox 6.1は次の3行でインストールできます。
$ wget -q https://www.virtualbox.org/download/oracle_vbox_2016.asc -O- | sudo apt-key add -
$ sudo add-apt-repository "deb [arch=amd64] http://download.virtualbox.org/virtualbox/debian $(lsb_release -cs) contrib"
$ sudo apt update && sudo apt install virtualbox-6.1
インストールできた!

何しているか気になる方は、次の項に上のコマンドの詳細を書いておきます。 インストールできたなら読み飛ばしても大丈夫。
アンインストールはこちら。
$ sudo apt remove virtualbox virtualbox-*
1-2.の詳細
細かいが、インストールコマンドの3行を説明する。
1行目: 公開鍵を追加
1行目はセキュアなダウンロードのため、オラクルの公開鍵を取得してapt-keyに追加しています。
下のようなエラーが出た方は、公開鍵が追加されていないためです。
W: GPG エラー: http://download.virtualbox.org/virtualbox/debian bionic InRelease: 公開鍵を利用できないため、以下の署名は検証できませんでした: NO_PUBKEY A2F683C52980AECF
E: リポジトリ http://download.virtualbox.org/virtualbox/debian bionic InRelease は署名されていません。
N: このようなリポジトリから更新を安全に行うことができないので、デフォルトでは更新が無効になっています。
N: リポジトリの作成とユーザ設定の詳細は、apt-secure(8) man ページを参照してください。
2行目: リポジトリを追加
リポジトリを追加するためのコマンドです。
/etc/apt/sourcesに次の行を追加します。
<mydist>のところは利用するディストリビューションの名前に変えてください。
名前はバージョンごとにeoan, bionic, xenial, buster, stretch, or jessie とする。
名前はコマンド$ lsb_release -cs`でわかります。
deb [arch = amd64] https://download.virtualbox.org/virtualbox/debian <mydist> contrib
この環境は18.04ですのでbionicにして/etc/apt/sourcesに追記します。
それよりも、<mydist>を$(lsb_release -cs)`としておけばどのバージョンでもOK!!!
# ディストリビューション名を確認
$ lsb_release -cs
bionic

# 名前が合っているので次のコマンドで`/etc/apt/sources`に追記
$ sudo add-apt-repository "deb [arch=amd64] http://download.virtualbox.org/virtualbox/debian $(lsb_release -cs) contrib"
といったことが行われている。
3行目: aptのアップデートとVirtualBoxをダウンロード
はい。それをしています。
新しいバージョンが出たら、virtualbox-6.2などと数値を変えていけば大丈夫かと。
すみません、かなり脱線しました。
Vagrantをインストール
Ubuntuのリポジトリで利用可能なVagrantパッケージは古いです。
バージョン2.0.2でした。
Vagrantの公式サイトから最新バージョンをダウンロードしてインストールします。
2020/01/29時点での最新はVagrant 2.2.7です。 これをダウンロードします。
# パッケージリストを更新
$ sudo apt update

# Vagrantをダウンロード
$ curl -O https://releases.hashicorp.com/vagrant/2.2.7/vagrant_2.2.7_x86_64.deb

# Vagrantをインストール
$ sudo apt install ./vagrant_2.2.7_x86_64.deb

# バージョン確認
$ vagrant --version
Vagrant 2.2.7
無事、Vagrantがインストールできました!
仮想環境を作ってみる
適当なディレクトリにcentos/7の仮想環境を作ってみます。
$ cd ~
$ mkdir test
$ cd test/

# Vagrantファイルを作成
$ vagrant init centos/7
A `Vagrantfile` has been placed in this directory. You are now
ready to `vagrant up` your first virtual environment! Please read
the comments in the Vagrantfile as well as documentation on
`vagrantup.com` for more information on using Vagrant.

# 仮想環境を立ち上げる
$ vagrant up
Bringing machine 'default' up with 'virtualbox' provider...
==> default: Box 'centos/7' could not be found. Attempting to find and install...
    default: Box Provider: virtualbox
    default: Box Version: >= 0
==> default: Loading metadata for box 'centos/7'
    default: URL: https://vagrantcloud.com/centos/7
==> default: Adding box 'centos/7' (v1905.1) for provider: virtualbox
    default: Downloading: https://vagrantcloud.com/centos/boxes/7/versions/1905.1/providers/virtualbox.box
    default: Download redirected to host: cloud.centos.org
==> default: Successfully added box 'centos/7' (v1905.1) for 'virtualbox'!
==> default: Importing base box 'centos/7'...
==> default: Matching MAC address for NAT networking...
==> default: Checking if box 'centos/7' version '1905.1' is up to date...
==> default: Setting the name of the VM: test_default_1580338279594_89929
==> default: Clearing any previously set network interfaces...
==> default: Preparing network interfaces based on configuration...
    default: Adapter 1: nat
==> default: Forwarding ports...
    default: 22 (guest) => 2222 (host) (adapter 1)
==> default: Booting VM...
==> default: Waiting for machine to boot. This may take a few minutes...
    default: SSH address: 127.0.0.1:2222
    default: SSH username: vagrant
    default: SSH auth method: private key
    default:
    default: Vagrant insecure key detected. Vagrant will automatically replace
    default: this with a newly generated keypair for better security.
    default:
    default: Inserting generated public key within guest...
    default: Removing insecure key from the guest if it's present...
    default: Key inserted! Disconnecting and reconnecting using new SSH key...
==> default: Machine booted and ready!
==> default: Checking for guest additions in VM...
    default: No guest additions were detected on the base box for this VM! Guest
    default: additions are required for forwarded ports, shared folders, host only
    default: networking, and more. If SSH fails on this machine, please install
    default: the guest additions and repackage the box to continue.
    default:
    default: This is not an error message; everything may continue to work properly,
    default: in which case you may ignore this message.
==> default: Rsyncing folder: /home/suzu6/vagrant/test/ => /vagrant
数分で仮想環境が立ち上がりました!
$ vagrant global-status
id       name    provider   state   directory
------------------------------------------------------------------------
94d84f9  default virtualbox running /home/suzu6/vagrant/test
仮想マシンにSSH接続するには、次を実行します。
$ vagrant ssh
次のコマンドで仮想マシンを停止できます。
$ vagrant halt
次のコマンドは、実行中のマシンを停止し、マシンの作成中に作成されたすべてのリソースを破棄します。
$ vagrant destroy